Pro Drywall Tips And Tricks
This is a pro guide to drywall tips and tricks used by installers. The fact is most diy drywall projects result in poor installation noticeable bumps and poor seam taping. To help guide you to the best finished product we have joined with professional drywall installers to outline the best practices here.
Types of drywall material
That’s right there are different thicknesses and types of drywall to choose from for a particular installation. The drywall you use for walls in your livingroom will not protect moisture producing areas like a bathroom or kitchen. Making the wrong choice can result in mold or sagging issues.
1/2-inch Drywall: Used for livingrooms, bedrooms and hallways. Easy to work with and relatively light weight.
5/8-inch Drywall Type X: Used where fire rated requirements are needed and for ceilings to protect against sagging.
Moisture Rated Drywall: Used behind shower panels and for bathroom walls. Can handle moisture and prevents mold growth versus regular drywall. Avoid disaster never lay wall tiles over drywall use the proper wet board for laying your tiles.
Check proper wall framing before drywalling
Nothing worse then a wall not being straight and plumb. Always check the framing before hanging any drywall. Standards require a flat smooth surface to lay your drywall on. Check with a level and add shims or plane the studs down if needed. If you don’t then you will have to correct it later with a whole lot of joint compound and sanding.
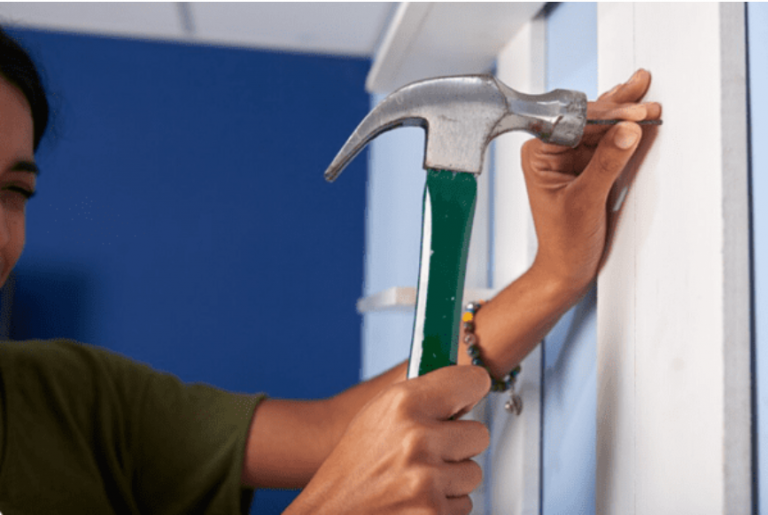
Use proper screws not nails
A rooky move is to install drywall using nails. Drywall screws have more holding power and will not back out over time. The correct screw is important.
Wood studs require a coarse thread screw and metal needs fine threads. You can purchase these drywall screws at your local hardware store. Drive the screw into the drywall leaving a dimple just before breaking through the paper. If you break through the paper the screw loses it holding power. If this happens back it out and place in another spot.
Drywall hanging tips and tricks
Don’t hang drywall with vertical seams running from floor to ceiling. These will become weak points and crack. It is better to stagger seams creating a strong and stable wall giving more surface area for screwing into studs. Curved walls are another focus point. For slight curves use 1/4″ drywall if possible otherwise score the back of thicker drywall.
Do not score through the paper in the front. For really tight curves wet the drywall in the back with water let sit until pliable and carefully install
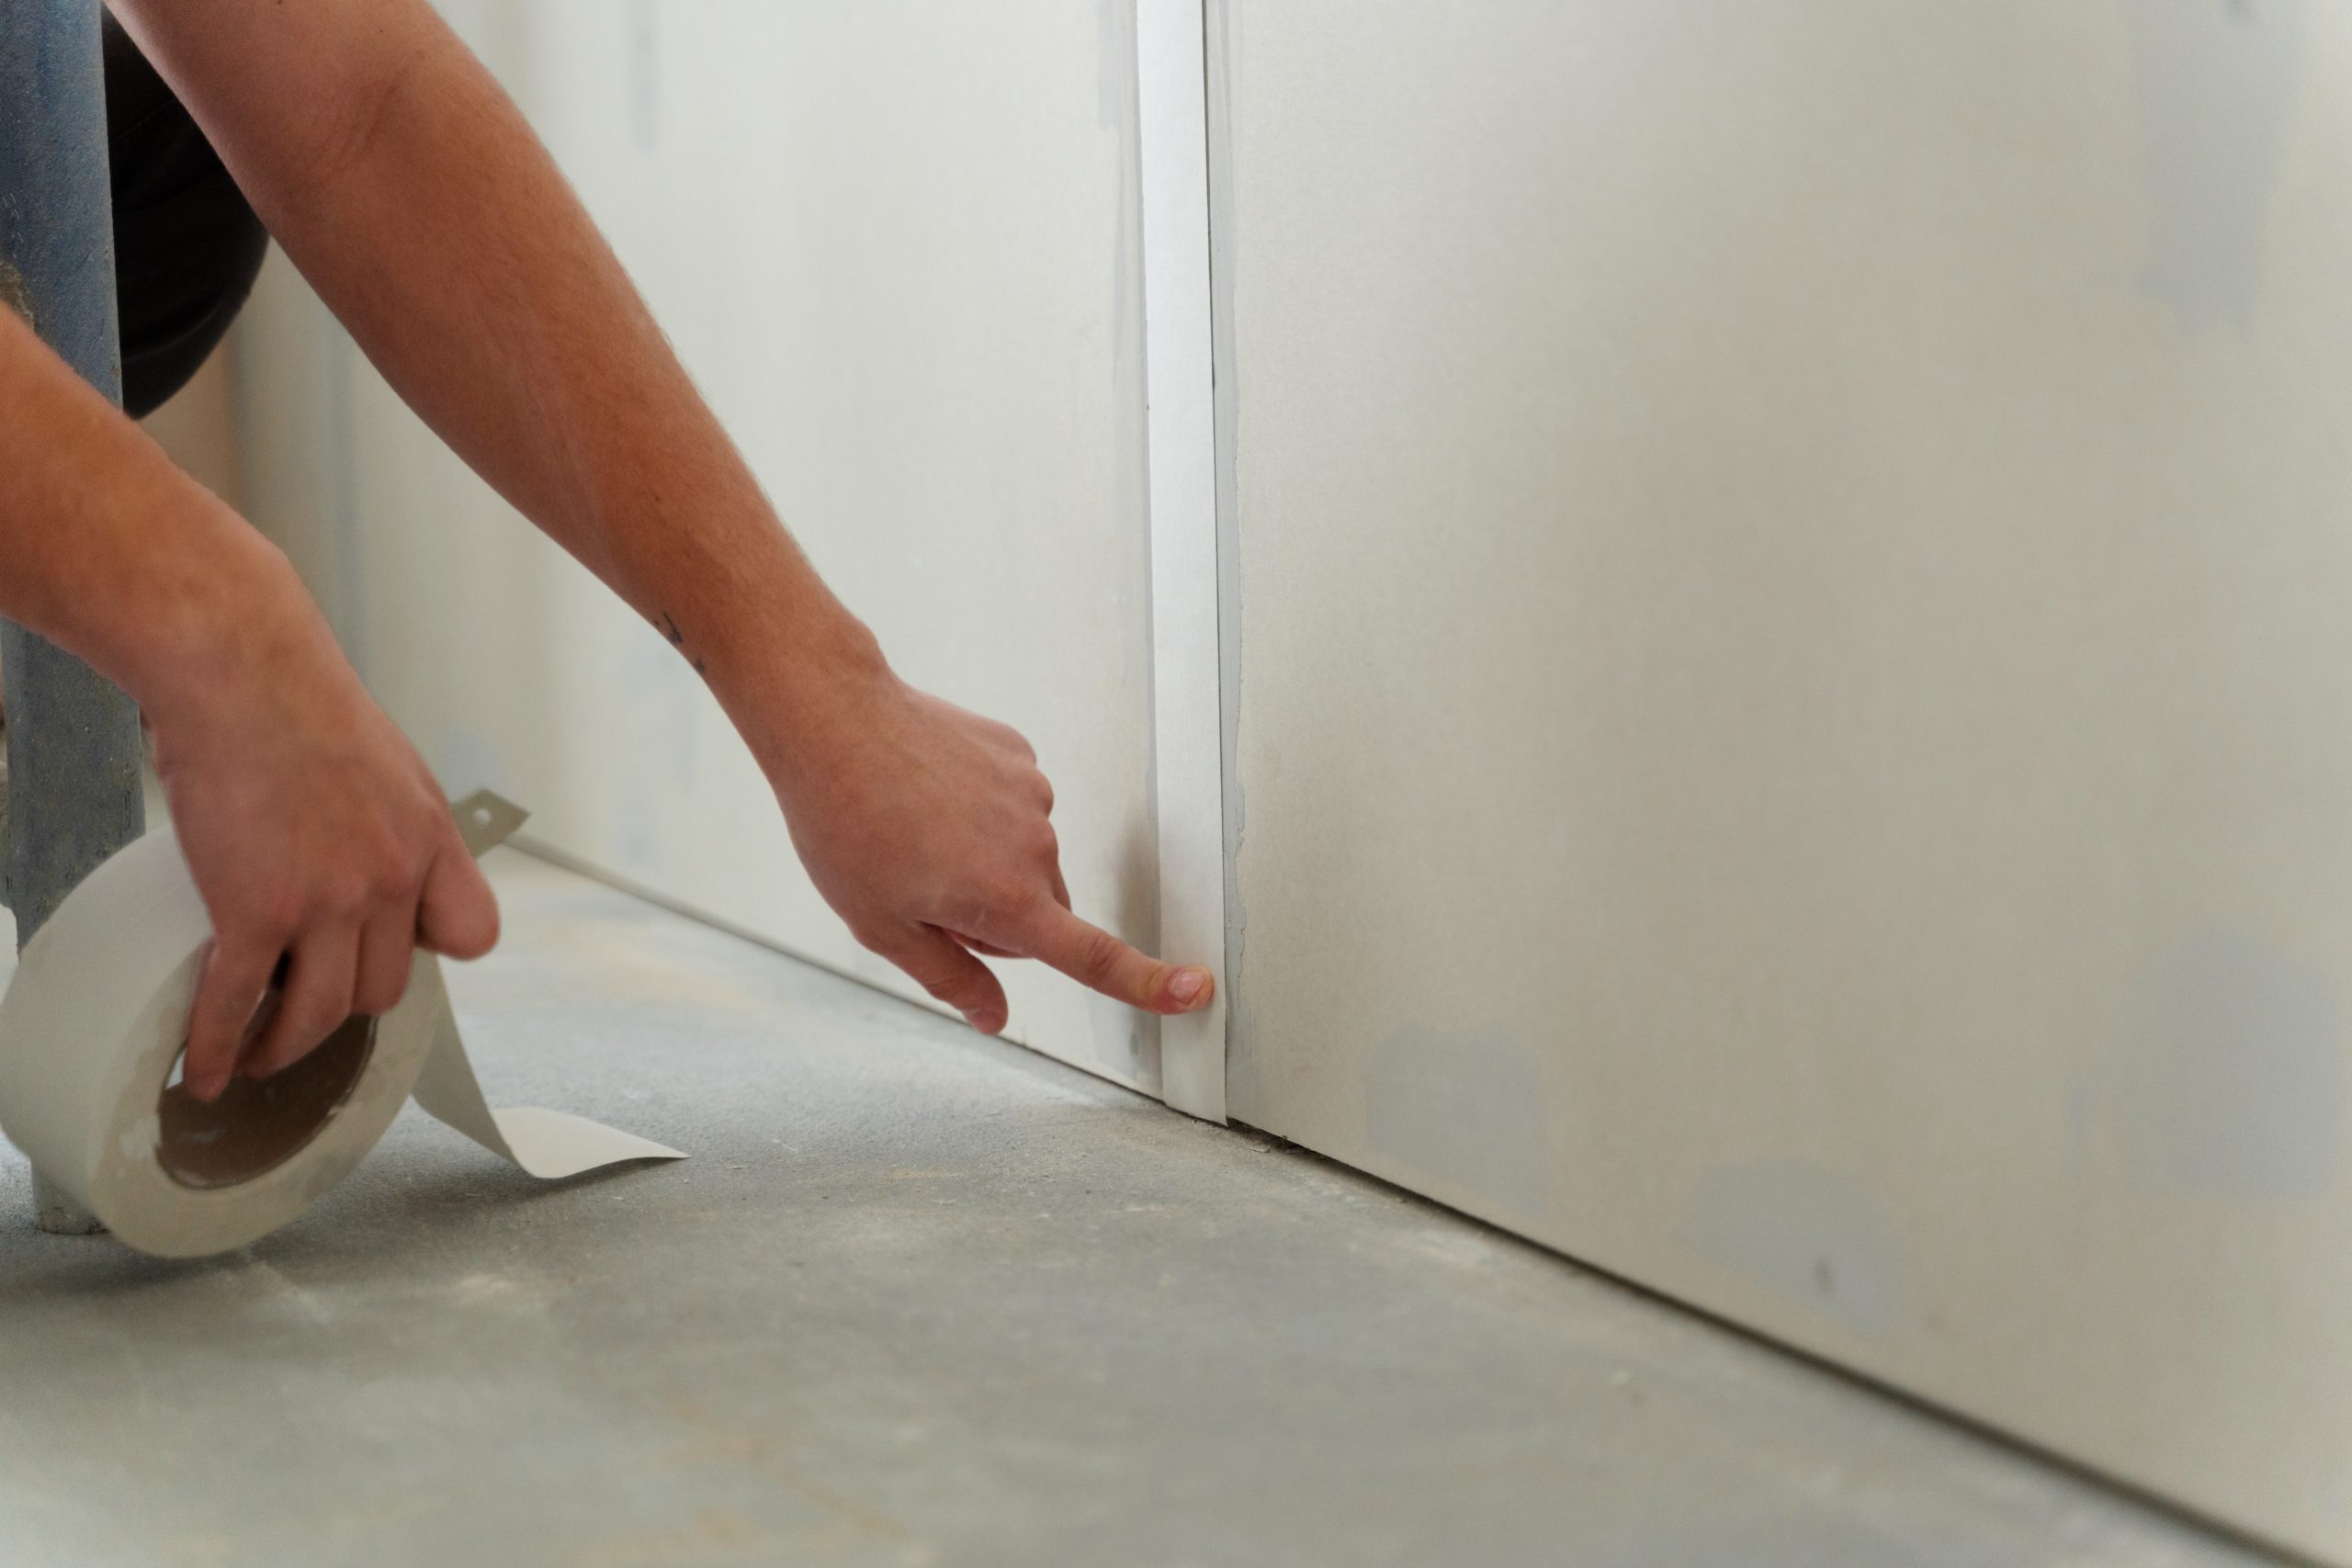
Taping and drywall joint compound
There are two types of joint tape paper and mesh. The pros prefer paper as it is strong and resistant to cracking. If you are new to installing drywall mesh may be a better choice.
Mesh joint tape does require a chemical based joint compound that holds the tape firm and has less shrinking. You can use regular joint compound for finish work after the mesh compound dries if you like.
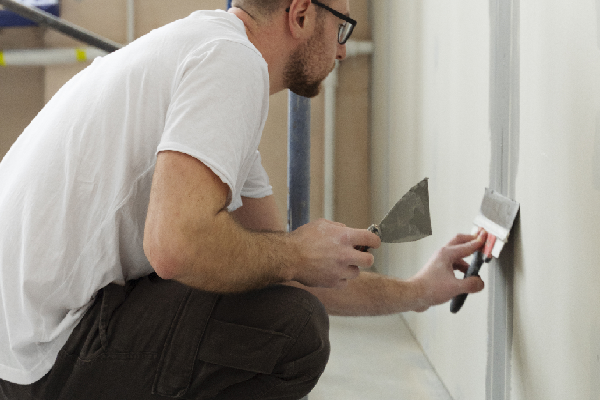
Taping drywall joints like a pro
The key to taping drywall joints is to properly embed the tape into the mud. You do this by applying a thin layer of joint compound to the joint and pressing the tape into the compound. Smoothly pull your knife across the tape squeezing out excess joint compound and pressing the tape to the wall. This takes some practice.
How to make invisible seams
The secret is width the wider the better. You want to use a wide knife for this not a small one. Feather the joint compound to a width of about 6 inches eliminating the ridge caused by the drywall tape. 2-3 coats should be enough. Apply the mud thin and smooth.
Sanding and final steps
Sanding should be done with a pole sander using 150 grit. Hand sand corners and difficult areas. If something needs fix do it now. To find mistakes use a bright work light holding parallel to the walk. Shadows will pinpoint areas that need fixed. Sand lightly avoiding damaging the drywall paper. Double Check your work before priming and painting.