How To Refinish A Hot Tub
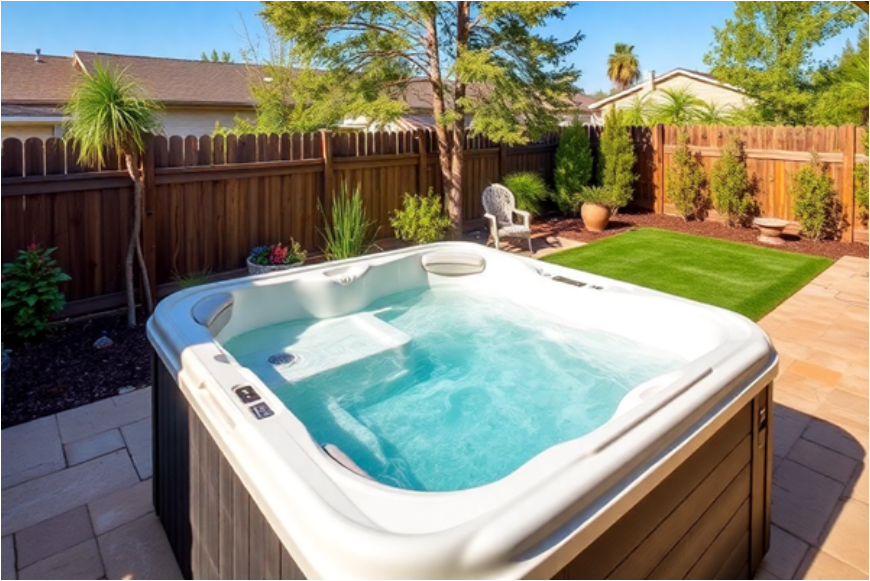
A professional’s guide to refinishing and restoring the finish on a hot tub. US Bath Products a company owned by professional refinishers will guide you in the proper way to repair the faded cracked and chipped shell of your hot tub.
Over time, harsh chemicals and the sun degrade the acrylic or gel coating on your hot tub causing it to be prone to damage such as chipping and spider cracking.
A proper clear coating formulated for your specific material can restore a surface that is faded but will not fix damage to the shell a repair kit is needed to address these problems.
Condition and type of hot tub
The condition of your hot tub determines if it is even worth saving. Take into consideration mechanical problems and if the hot tub shell is solid enough to restore.
A typical rule is if the hot tub is worn so much that fiberglass is exposed in large areas or several leaking cracks are visible especially holes then the hot tub is probably not worth restoring. Typically older hot tubs are formed fiberglass with a gel coat finish while newer ones are made of acrylic or other resins. Dilapidated fiberglass is not worth restoring.
Pre-prep checklist
The coating that US Bath Products recommends is their 100% epoxy resin Spa & Hot Tub Paint. The coating is a 2 part system for do-it-yourself application.
Epoxies cannot get wet when curing so if you are refinishing an outside hot tub protect it from rain or morning dew. Repairs such as cracks and chips need to be repaired first. Keep in mind that repairs may show through a clear coat. If this is a concern after repairs are completed refinish the surface in a solid color.
Tools and Materials Needed
- 80 grit sandpaper
- Acetone
- asking tape and paper
- Paint tray
- 4″ Paint roller handle
- Fine foam roller covers
- Spa & hot tub paint
- 1″ & 2″ foam brushes
- Tack cloth
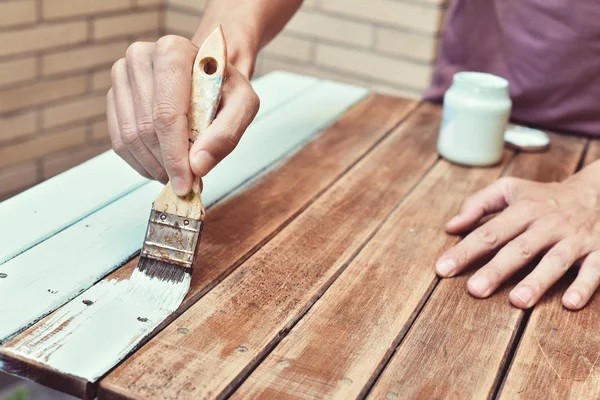
Preparing the hot tub for refinishing
Sanding the surface of the hot tub shell to remove the glossy sheen and rough up the surface to aid in adhesion of the epoxy coating is vital. Hand sand the surface in a circular motion using 80 grit sandpaper until dull. Mechanical sanding is not recommended.
Vacuum dust and debris followed by rinsing any dust residue from the surface with clean water and allow to completely dry. Once dry use a tack cloth to remove residual debris.
Mask any areas of the hot tub not receiving paint including jets and controls using tape and masking paper. Using paper towels wipe down the walls, seats and floor with Acetone and let dry. Acetone removes any moisture left in the pores of the finish.
Painting the hot tub
The kit you will be using is US Bath Products Spa & Hot Tub Paint Kit. Complete instructions can be printed from the product page on the website.
This is a 2 part epoxy painting kit that requires proper mixing of parts A the resin & B the hardener. Only mix in a plastic pail. Do not add any thinners to this mixture and the product cannot be sprayed on. Only use a paint roller and brush application.
Mix per instruction provided. Apply starting at the floor of the hot tub using thin coats working your way up and out of the hot tub. Cut in edges using the foam brushes. Let dry and cure 24 hours before applying the second coat.
Temperature and humidity play a big part in the work time you have to apply the epoxy and the dry time. You want to apply the coating in low humidity and at around 70 degrees. Protecting an outside hot tub from wind and debris can be done by covering the hot tub in netting to catch debris that could ruin the finish. A pop up canopy can be used to keep off rain or dew.
Completing the project
Once the epoxy has completely dried and is no longer tacky you can add water. The hot tub epoxy will completely cure in 7 days. Add spa chemicals after the hot tub has cured.