Fluidmaster 400A Best Toilet Tank Fill Valve
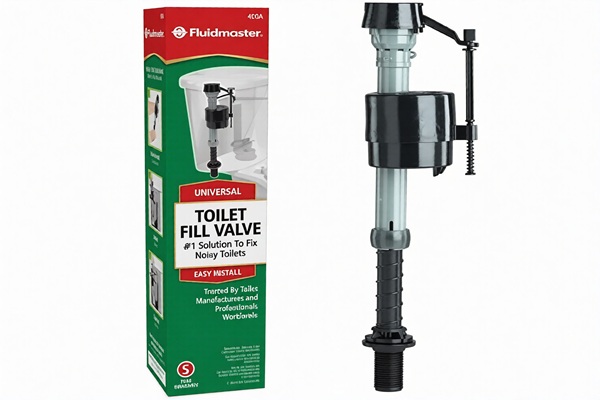
In this plumbing guide we review a very popular toilet tank fill valve the Fluidmaster 400A in our opinion the best fill valve for do-it-yourself and professional toilet tank repairs.
If your toilet is constantly running, noisy or not filling properly it is most likely due to a bad toilet tank fill or ballcock valve. Older style ballcock valves can wear out resulting in poor performance and slower fill of the toilet tank. Our guide will explain why the Fluidmaster 400A is the right choice for repairing your toilet.
Why maintenance professionals and plumbers recommend Fluidmaster
The Fluidmaster 400A is a versatile repair valve that doesn’t require any tools or plumbing skills to install. It is universal so it can be adjusted in height to fit different size tanks and can be installed in less then 30 minutes following the instructions provided. One of the most recommended fill valves by professional plumbers and contractors.
Features of the Fluidmaster 400A fill valve
The replacement fill valve you choose to replace your old valve should shut off completely when the tank is full, fill the toilet bowl to the proper level, be adjustable and not interfere with the tank lid.
The 400A meets all of those requirements and more. Proper flushing requires adjusting the water level. Too little water will cause a weak flush while too much water will be wasted by draining out the overflow tube.
The Fluidwmaster 400A allows you set the perfect water level in the tank
Will the Fluidmaster 400A fit your toilet tank?
While the Fluidmaster 400A is a universal fill valve that doesn’t mean it will fit every toilet tank. Some tanks including some water saving toilet tanks or those with specialty plumbing may require a different valve..
Check your tank’s water connection, type of existing fill valve, space available inside the tank and the height to the tank lid. Compare those measurements to the Fluidwmaster 400A installation instructions.
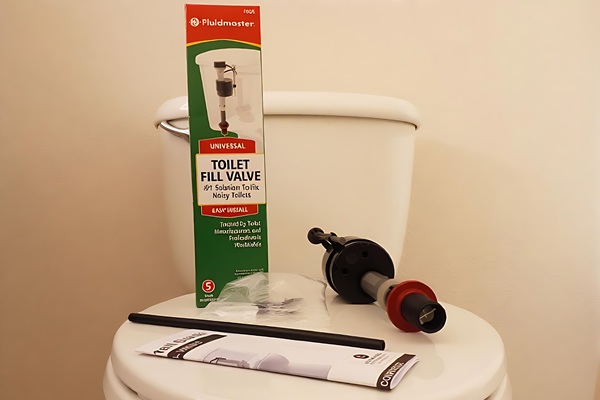
Fluidmaster 400A installation
The Fluidmaster 400A installation requires the toilet tank to be emptied of all water. Flush the toilet and hold the flapper in the tank up so most of the water drains from the tank. Using a sponge soak up the remaining water.
Most installations require no tools but you may need channel locks to remove the old fill valve. Disconnect the waterline from the old fill valve. Loosen and remove the nut from the valve stem and remove the old fill valve from the tank.
Make sure the hole area of the tank where the new valve is being installed is clean. Install a new waterline don’t use the old one.
Adjust the height of the Fluidmaster valve to fit your tank. Test fit the valve before finally locking the nut per the manufacture’s instruction. Allow enough room for the float to move freely. Once you have fitted the fill valve to your tank push down on the locking mechanism and install the valve and tighten the the lock nut securely by hand.
Install the bowl fill tube to the overflow tube with the clip provided. Connect the waterline to the threaded valve connection and hand tighten snug. Turn on the water and check for leaks.
Adjust the water level in the tank and test the flush watching for any leaks. Once you have the toilet flushing properly you are done.
By Leo Rosa
(Home Fix Handbook received No Compensation For This Review)