How To Caulk A Bathtub And Shower
Recaulking your bathtub and shower may seem like a chore that can wait but caulk protects your home from water damage. There is nothing that can damage you home faster or cost more then water leaking into the walls.
Caulking your bathtub and shower is a do-it-yourself job that doesn’t require hiring a professional. In this guide we will provide expert step by step instructions in how to do the job right.
What to look for when checking the caulking?
Cracks or Peeling: Separation from the bathtub or walls and cracking of the caulking means it is time to recaulk. Easily peeling off in strips is another sign the caulking has failed.
Mold and Mildew: Mold or mildew that can be wiped off is not an issue but if it is embedded in the caulking the waterproof features of the caulking have outlived it’s life and needs to be replaced.
Old and Discolored: When caulking gets old it turns yellow and may be stained. Replacing the caulking give the fixture a fresh look.
Tools you will need for the project
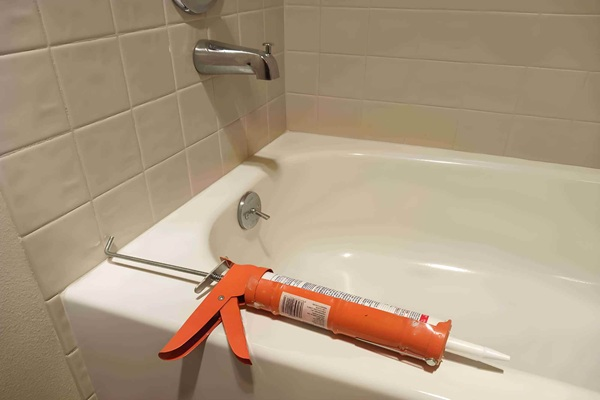
Standard Caulking Gun
Razor Knife
Caulking Scraper Tool
Putty Knife
Painters Blue Tape
220 Grit Sandpaper
Which caulking should you use?
There are several types and brands of caulking available. The best caulking for a bathtub and shower is 100% silicone.
Silicone caulk is not only completely waterproof it resists mold, remains flexible and is easy to work with. Use a silicone caulk that is specifically formulated for kitchens and baths.
Silicone caulking cannot be painted. If you need to paint over caulking use a latex or mix that states on the label that it can be painted. Caulking also comes in other colors besides clear or white.
The step-by-step recaulking process
Supplies Needed:
Safety Glasses
Acetone
Paper Towels
Disposable Gloves
Caulking removal
The first step is to remove the caulk. The goal is to remove all of the old caulking this is done by using a razor knife to cut along the bottom of the caulking that meets the bathtub or shower pan followed by cutting along the wall where the caulking adheres to tile or the shower gel coat.
While cutting out the old caulking be careful not to damage the surface. Use the caulking removal tool to remove the majority of the old caulking
A residue of old caulking will remain. Using a razor blade or scraper remove any caulk residue that remains on both surfaces.
To apply new caulking the area must be clean and dry. Scrubbing the area of application with a bathroom cleaning solution followed by a rinse and complete drying is essential.
To remove any soap residue wipe down with 70% denatured alcohol and let evaporate before applying new caulking.

Apply Caulking
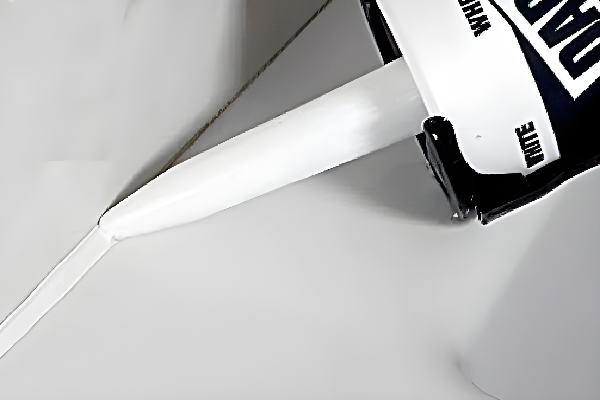
Load the tube of caulking into the caulking gun and snip the top of the tube at a 45 degree angle. Poke a hole in the tube to start the flow.
Squeeze the trigger and empty a small amount on a paper towel. Apply the tip of the tube to the seam you want to caulk. Holding firmly squeeze the trigger of the caulking gun while moving the gun smoothly across the seam applying caulk as you go.
Try to apply in one continuous motion applying an even amount of caulking.
The finished product
Finish by smoothing out the caulk. Running your finger along the bead in a continuous motion be sure to press into the seam gap.
You can use a caulking tool to get an even coat if you don’t want to use your finger. If you see gaps in the caulk just apply more and smooth again.
Allow the caulking to dry and cure for a minimum of 24 hrs before using the bathtub or shower. Once cured weekly cleaning with a mild soap will keep your fixtures and caulking looking great for years.
By Leo Rosa