DIY Window Screen Repair Step by Step
Window screens protect your home from pests, dirt, and debris while letting fresh air flow into the home. Screens can develop tears, holes, frame damage or become warped and not fit well from settling of your home’s foundation.
Fixing window screens yourself will save money, time, and give you a real sense of accomplishment. With the right tools and simple steps, you can repair or replace any window screen as a DIY project.
Components of a Window Screen
A typical window screen has several key parts. The mesh is the part that blocks bugs and dirt and can be made from fiberglass, aluminum or polyester. The frame is made from aluminum and comes in different colors and widths. Rubber spline holds the mesh in place within the frame while keeping the screen mesh tight.
Fiberglass mesh is flexible and easy to repair. Aluminum offers durability but is more prone to dents. Polyester screens are often used for specialty purposes. Knowing what your screen is made from helps you choose the right repair methods.
DIY Window Screen Repair
Repairing or making your own window screens is a pretty straight forward project. The materials you will need can be purchased from your local hardware store or online.
Tools and Materials Needed
- Flat-head screwdriver
- Utility knife or scissors
- Pliers
- Spline roller
- Replacement screen mesh
- Spline
- Replacement frame
- Frame corners
- Measuring tape
- Gloves
- Pen or marker
Measurements are very important. Measure your existing screen length by width. Also measure the width of the frame as the frames come in different widths. When ordering materials you need to know the width of your screen mesh too. Order mesh 4-6 inches wider then your existing screen width.
Step-by-Step Guide to Repairing Torn Damaged Window Screen
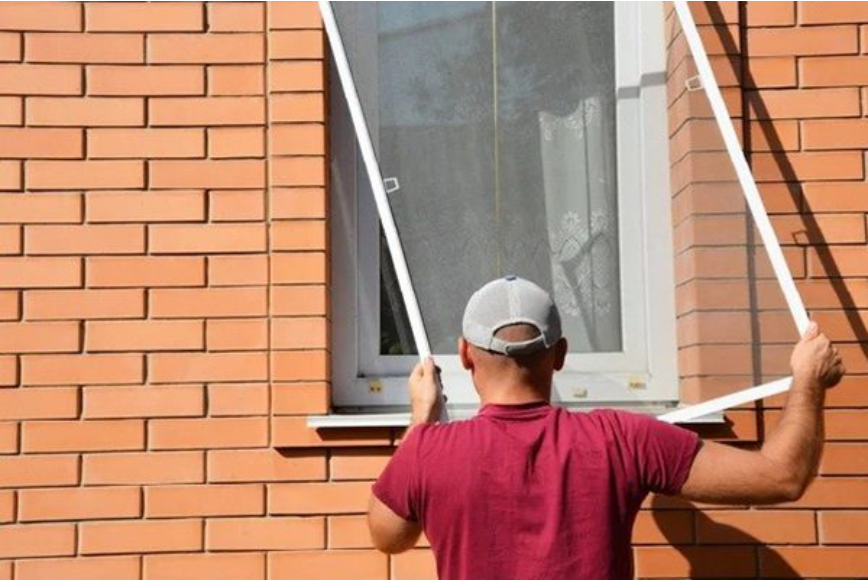
Remove the existing screen from the window trying not to damage the frame. Some screens have springs or clips. Once you have the screen out of the window, using a standard screwdriver gently pry out the rubber spline holding the mesh into the frame grove. Carefully remove the mesh without tearing more fabric or damaging the frame.
Cut a new piece of mesh screen about 1- 3 inchs larger then the frame on all 4 sides. Use scissors or a utility knife on a flat surface for best results.
Installing New Mesh into the Frame
Lay the new mesh over the frame, ensuring it overlaps evenly. Starting on one side press the spline through the screen mesh and into the grove of the frame using the Spline Roller, tightening the mesh as you go. Repeat on all sides, working slowly to keep the mesh taut. If you make a mistake you can always start over.
When all sides are done, trim off excess mesh with scissors or a utility knife. Double check that the spline is securely pressed in. Reinstall the window screen back into the window
Replacing Sections Or Rebuilding The Whole Frame
To replace a single section of frame measure the broken section corner to corner with a tape measurer. Using the new frame that you purchased cut a piece of new frame to length with a hacksaw. Check to make sure the new piece is correct by placing it over the old piece.
Cut the ends of the new frame at a 45 degree angle matching the old corners. Join the corners with plastic screen frame miter corners then tap tight with a hammer. Measure again to make sure the screen will fit properly in the window.
To make a complete frame repeat this process on all 4 sides of the new frame using the old frame as a guide for measurements. When the frame is done and measurements are rechecked follow the directions for installing new screen mesh. Make sure the new screen fits securely in the window.